Creating Zone Fields
- Former user (Deleted)
Create a Zone Field
- Log in as a JIRA Administrator
- Go into JIRA Administration.
- Open the Custom Fields page
- Click on Add Custom Field
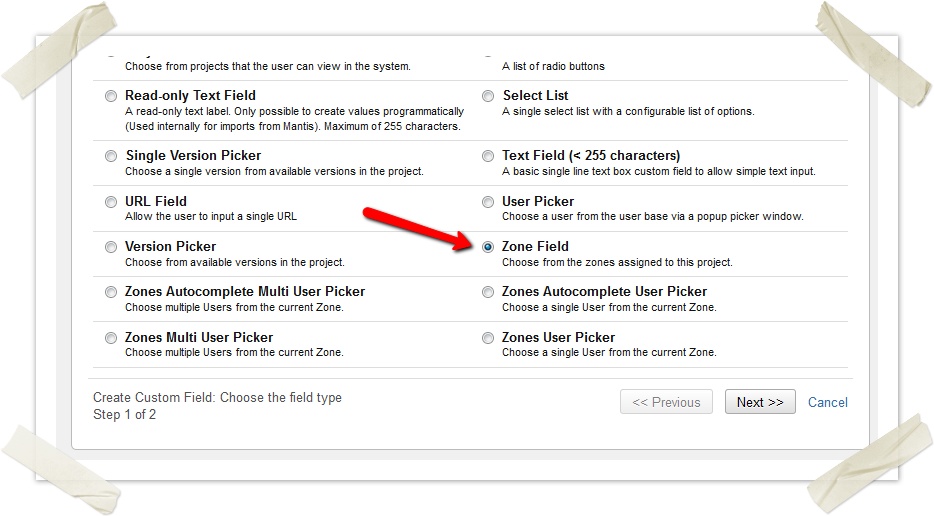
Select Zone Field and Click the Next button
In previous versions of the celix Zones Plugin the Zone Field was called Zone Picker. If you upgraded from a previous Version the Field was renamed automatically.
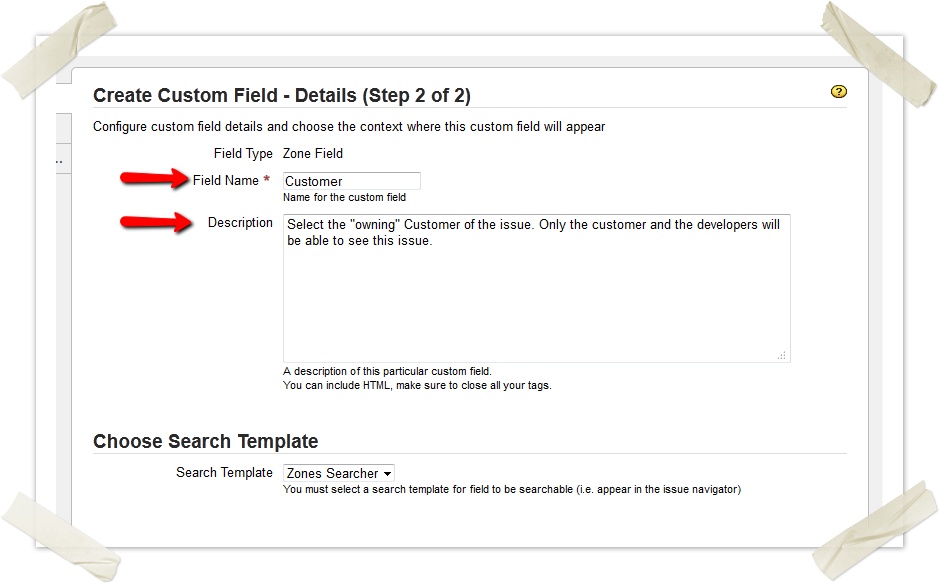
- Type in the Field Name and an optional Description for the Zone Field. Depending on your zones usage concept the Field Name may be something like "Tenant", "Customer", "Product" or "Team". You should already have defined the name in your zones usage concept.
Select applicable issue types and applicable projects for the zones field and click on Finish.
Selecting applicable issue types and projects is only relevant for field visibility of the Zone Field. Additional Field configurations have no effect. For details see Zones and Field Configuration
Enable the newly created on the screens that you want the Field to appear on.
What to do next
You probably will want to do one or more of the following:
Zones Configuration
- Configure Edit and Selectable Zones Permissions for Zones
- Configure Zone Role to Project Role Mapping
- Manage Users and Zones
- Configure Issue Security for Usage with Zones
- Creating Dependent Zone Fields
JIRA Configuration
We generally do not give support in the wiki or on Atlassian Marketplace. Please use our Support JIRA instead.
The only exception to this is questions regarding the documentation. Please use the comment-system to ask questions concerning the documentation.